Learn Android App Development in 30 mins
Pavan Shah • Jul 24, 2019
3 minutes
‘There should be an app for this!' I’m sure being a developer this thought must have crossed your mind many times. But these thoughts rarely go beyond ideation phase. Why? Busy life? Steep learning curve?
How about this… Let’s just learn the basics of android development required to build any RESTFul mobile app in next 30 mins and by the
end of this blog you will have your own fancy Pokémon battle app. Then you can decide if you are finding Android to be interesting enough to spend more time learning it.
Prerequisites
You should have some programming experience and an understanding of Java.
- Install Java Development Kit (JDK) 8 or later
- Install Android Studio
Follow the prompts. Please follow any android installation tutorial on YouTube if you run into issues. My personal recommendation.
Quick tour of the Android studio
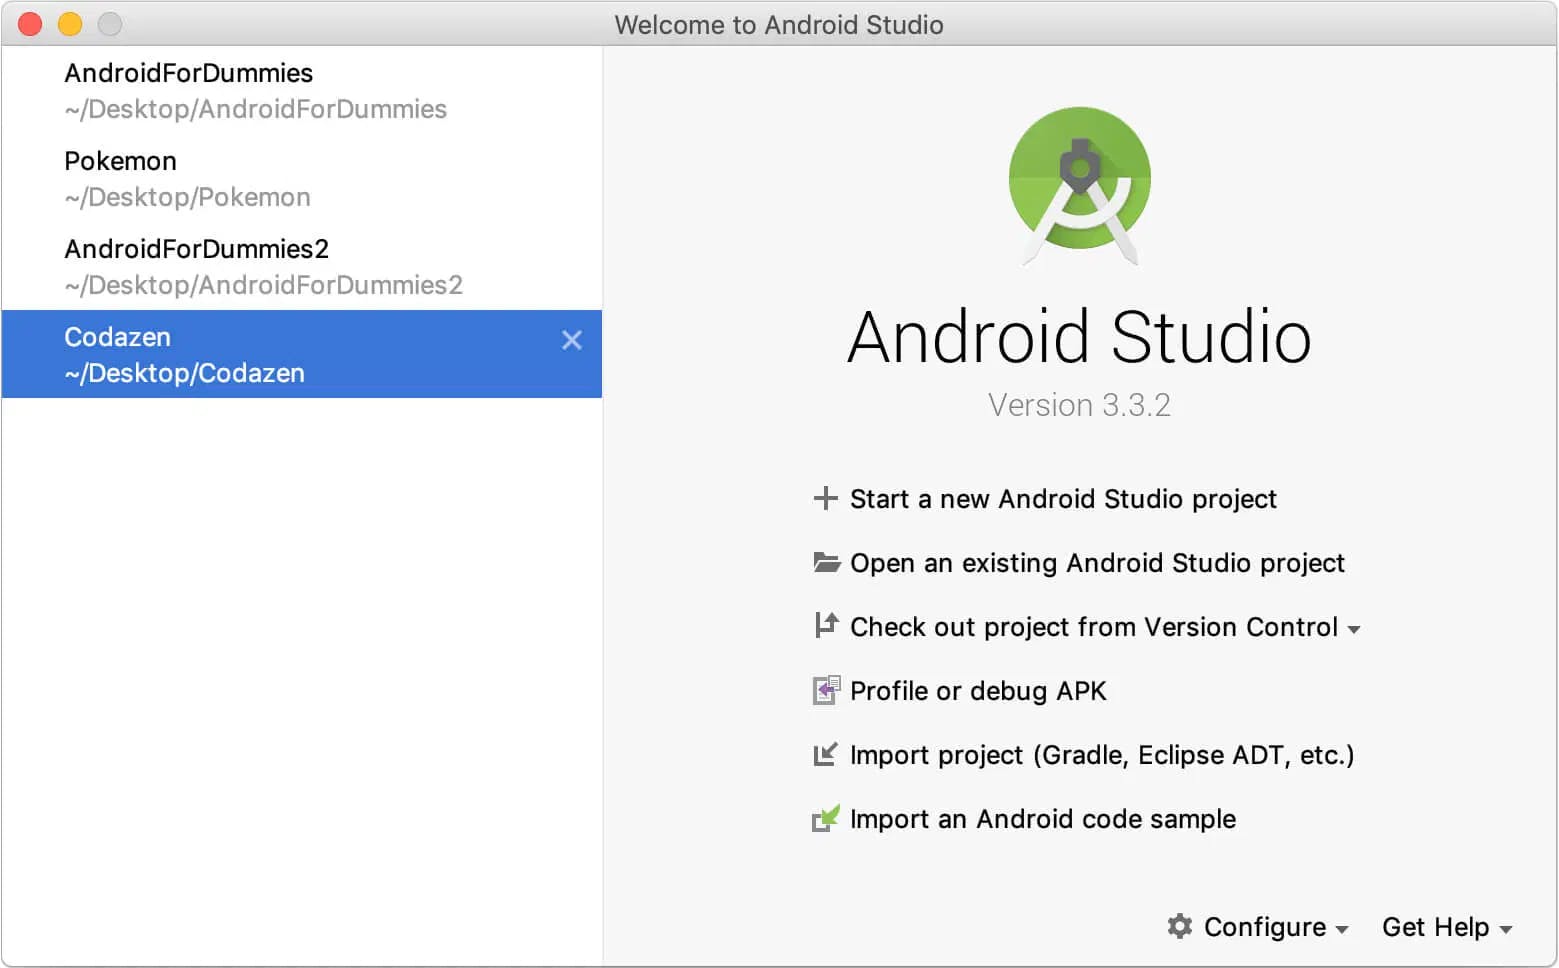
When you go to the Android Studio, you have an option to start a new project, import or open an existing project. We will start a new project.
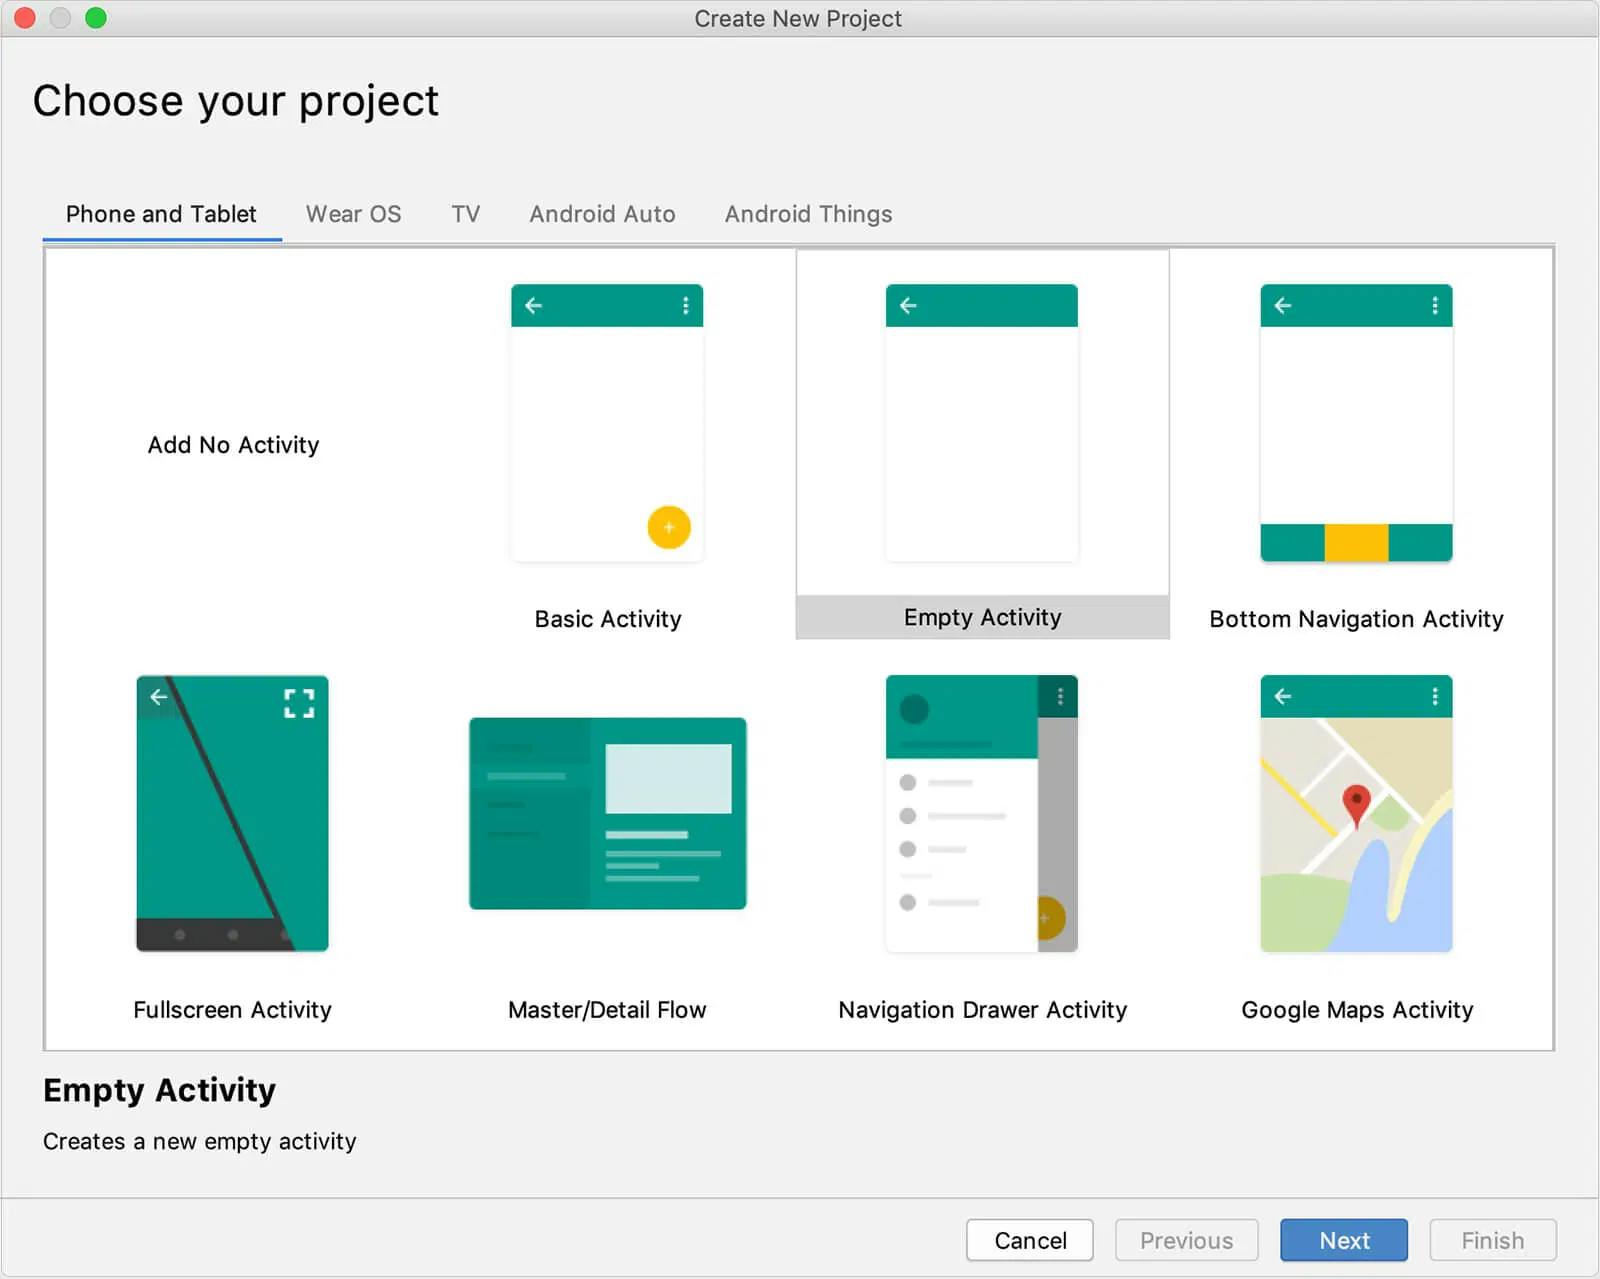
After starting a new project, you will get an option to select an activity for your home screen. The Activity defines how your app will look and behave. Some of these activities come with predefined functionalities and UI elements. For our app we will use an empty activity.
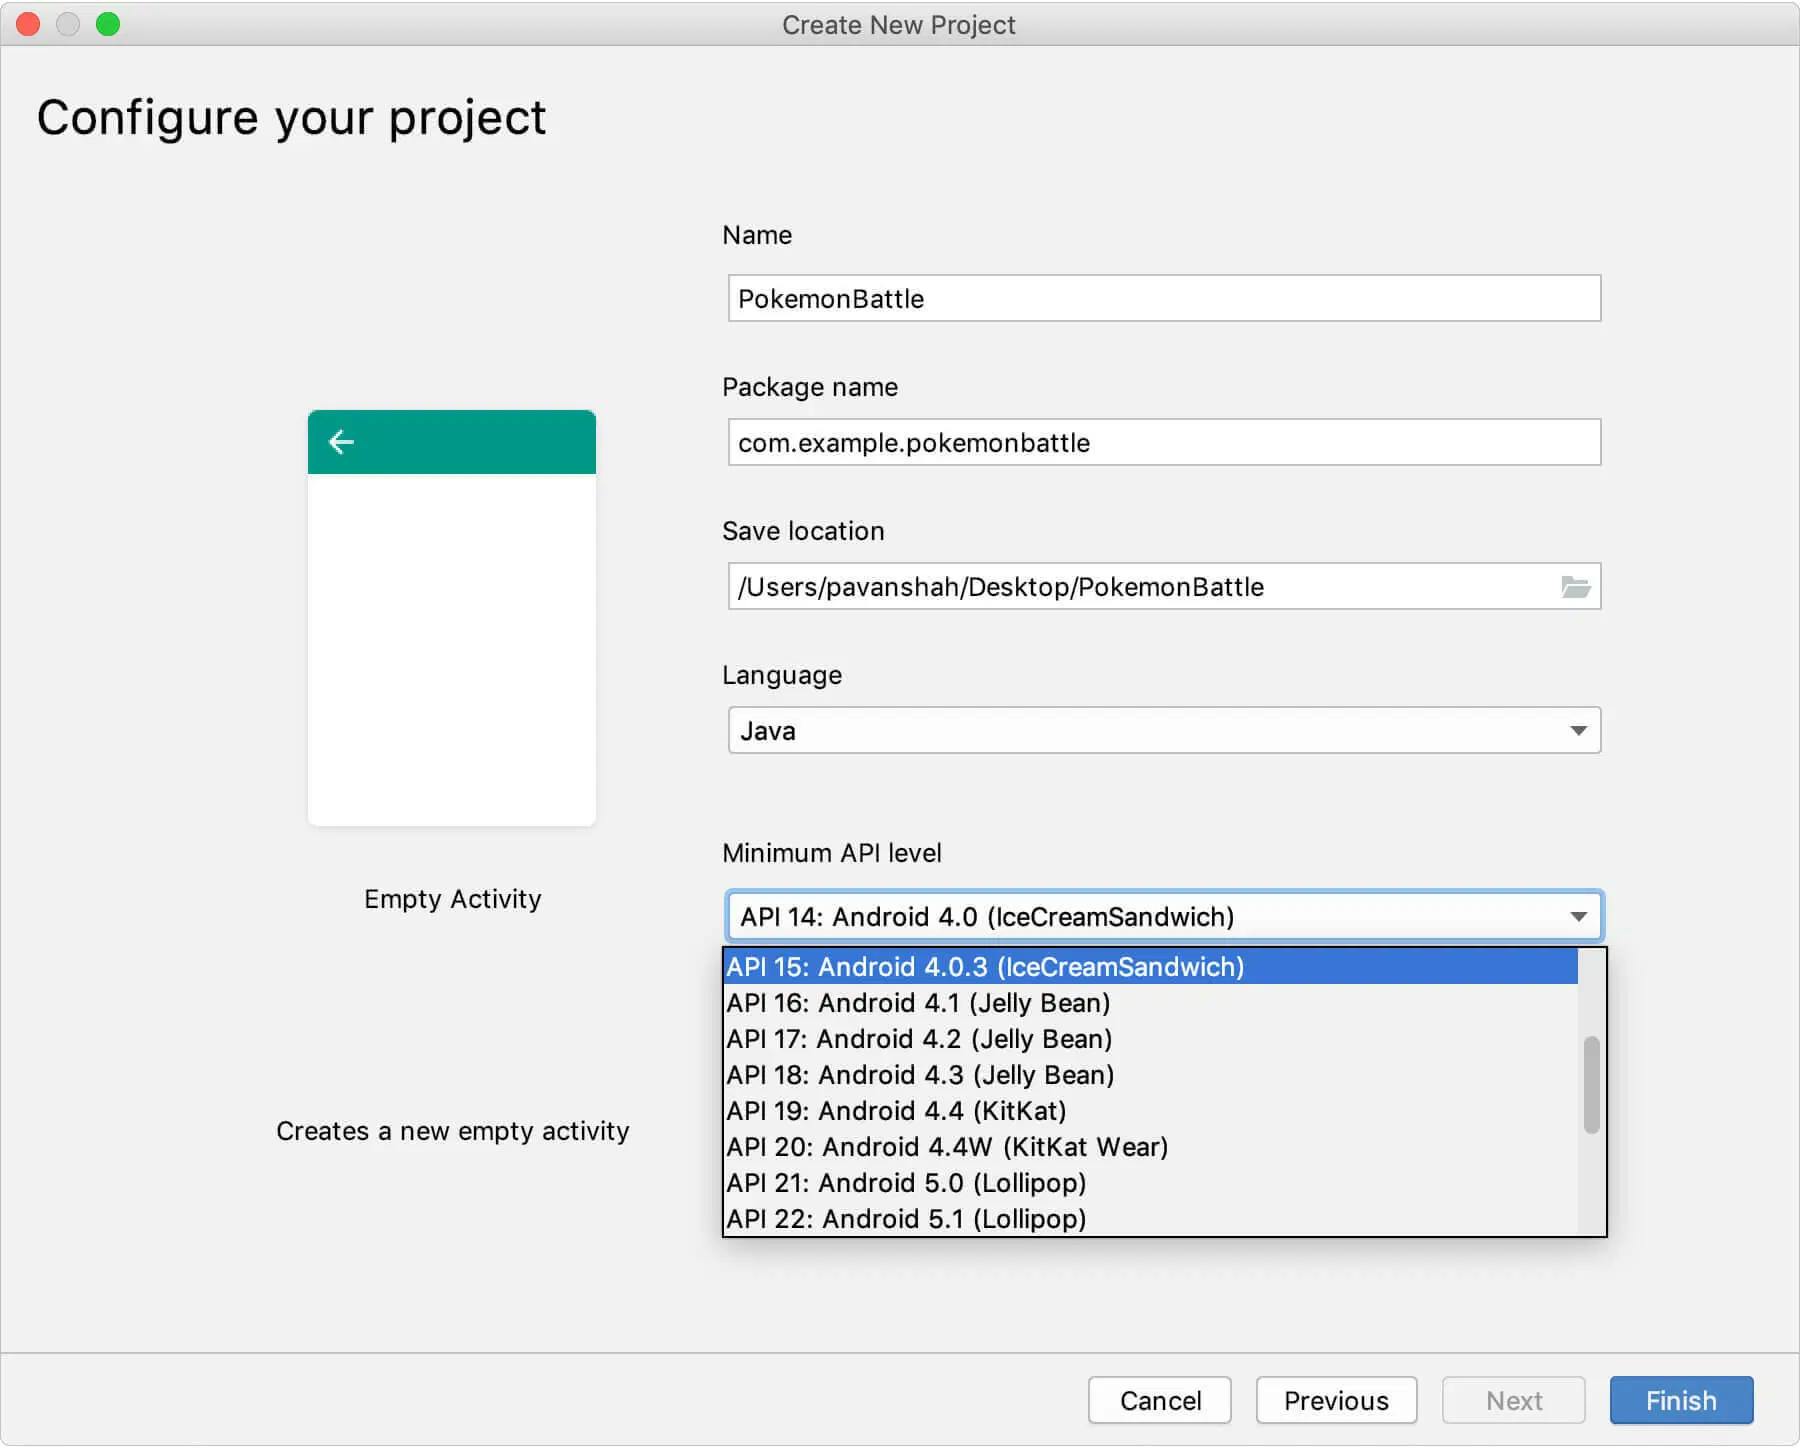
Next you will define the configurations for your app. You will get an option to decide name and minimum API level support for your app. Some functionalities are not available in phones with lower API levels. So make your selection based on the functionality of your app and the target audience.
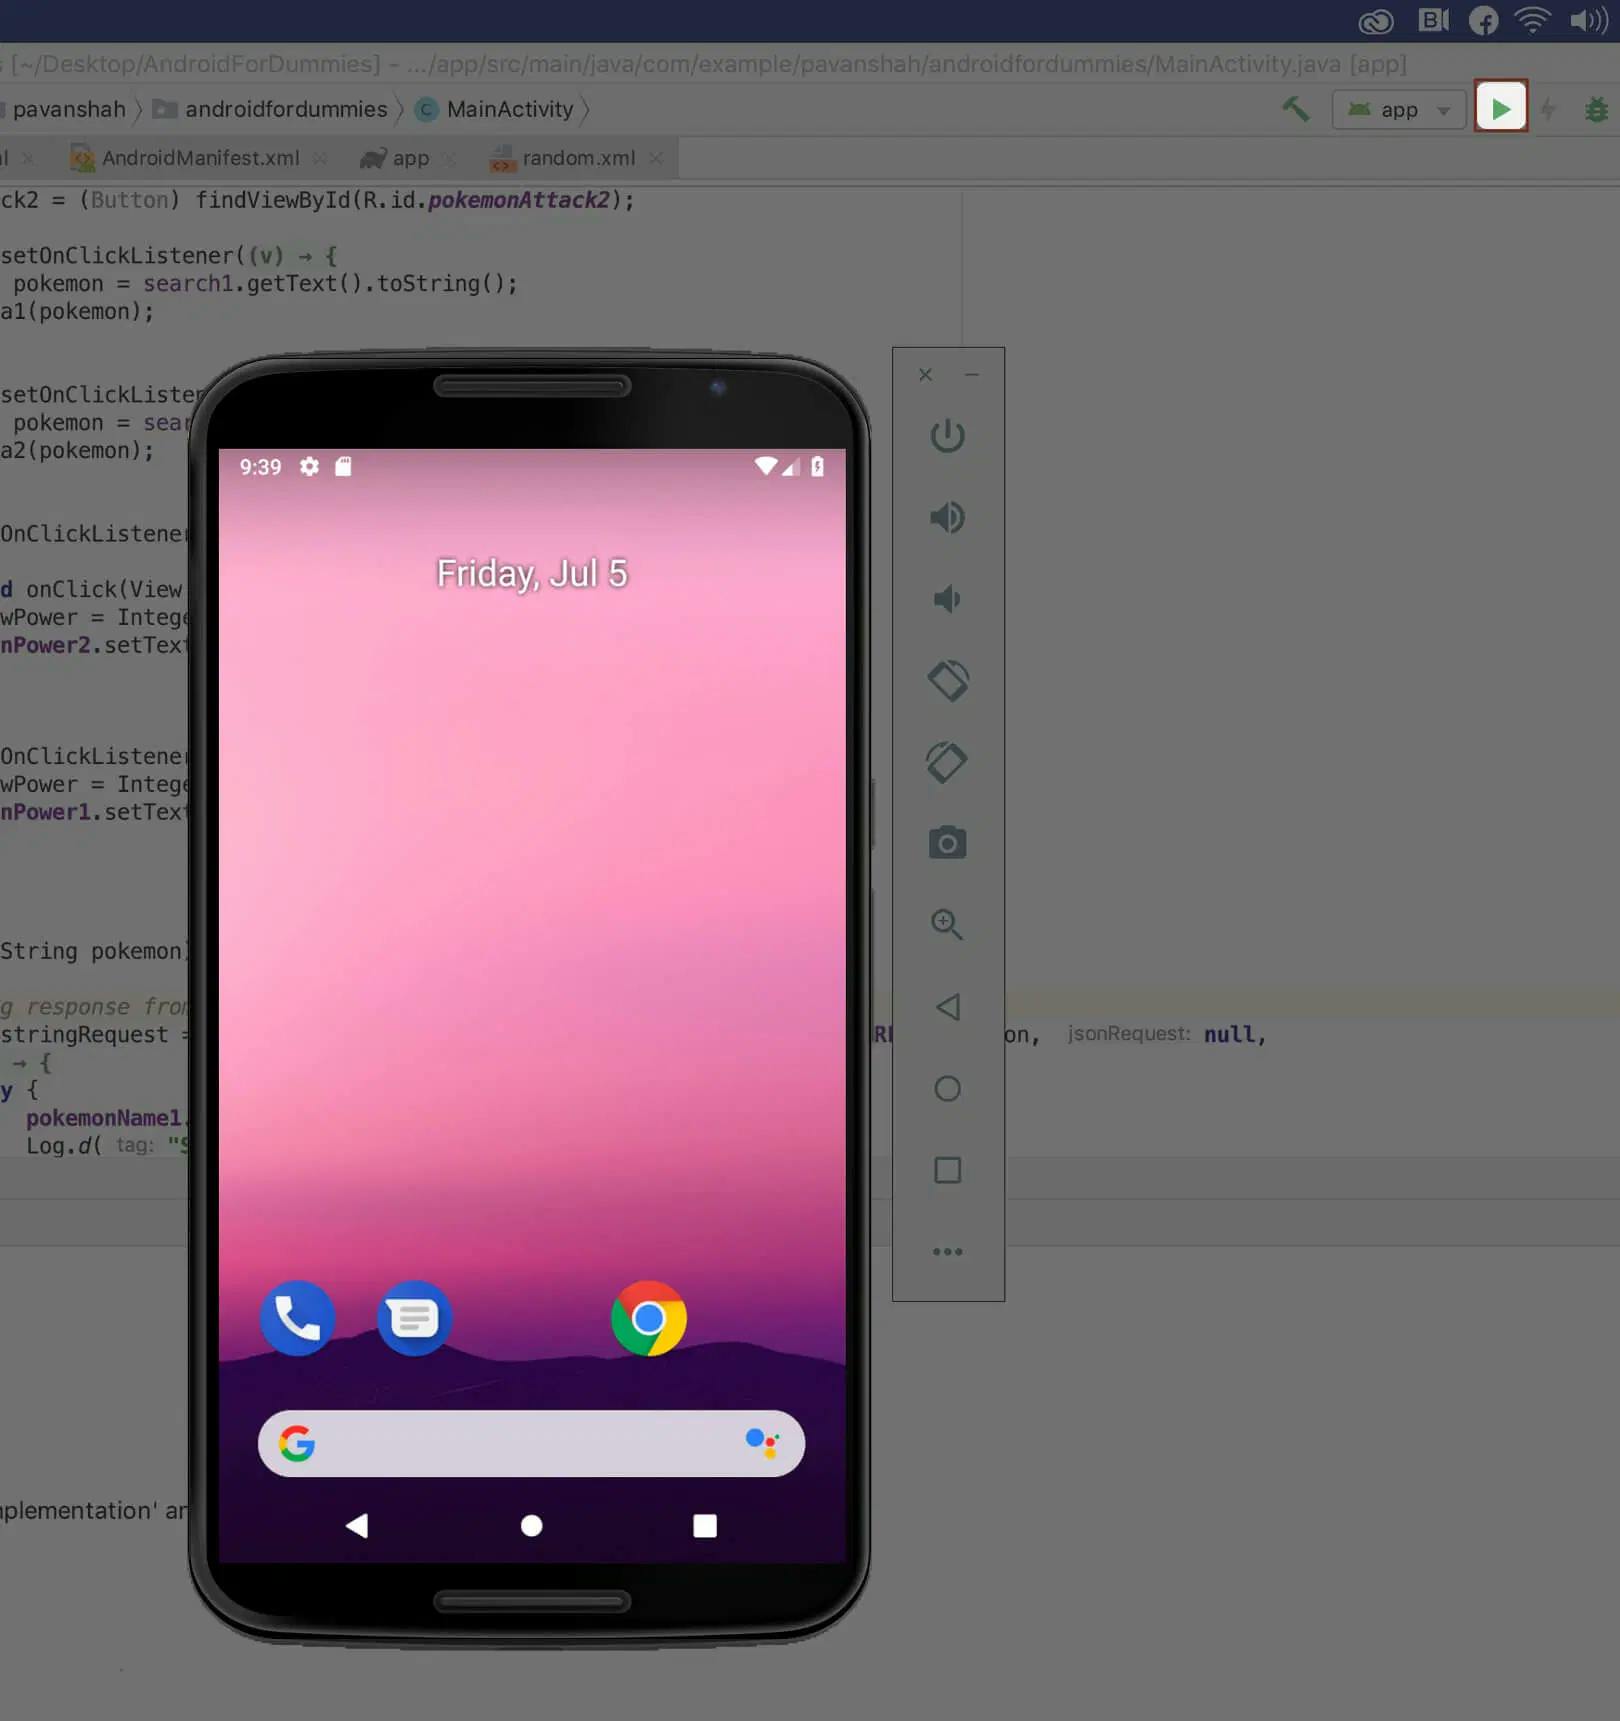
We will be testing our app on the android emulator. Please create your own emulator by clicking the highlighted button below and following prompts.
Code… Code… Code
Now we will start with our development.
Here I have selected the 4 most important files of our project:
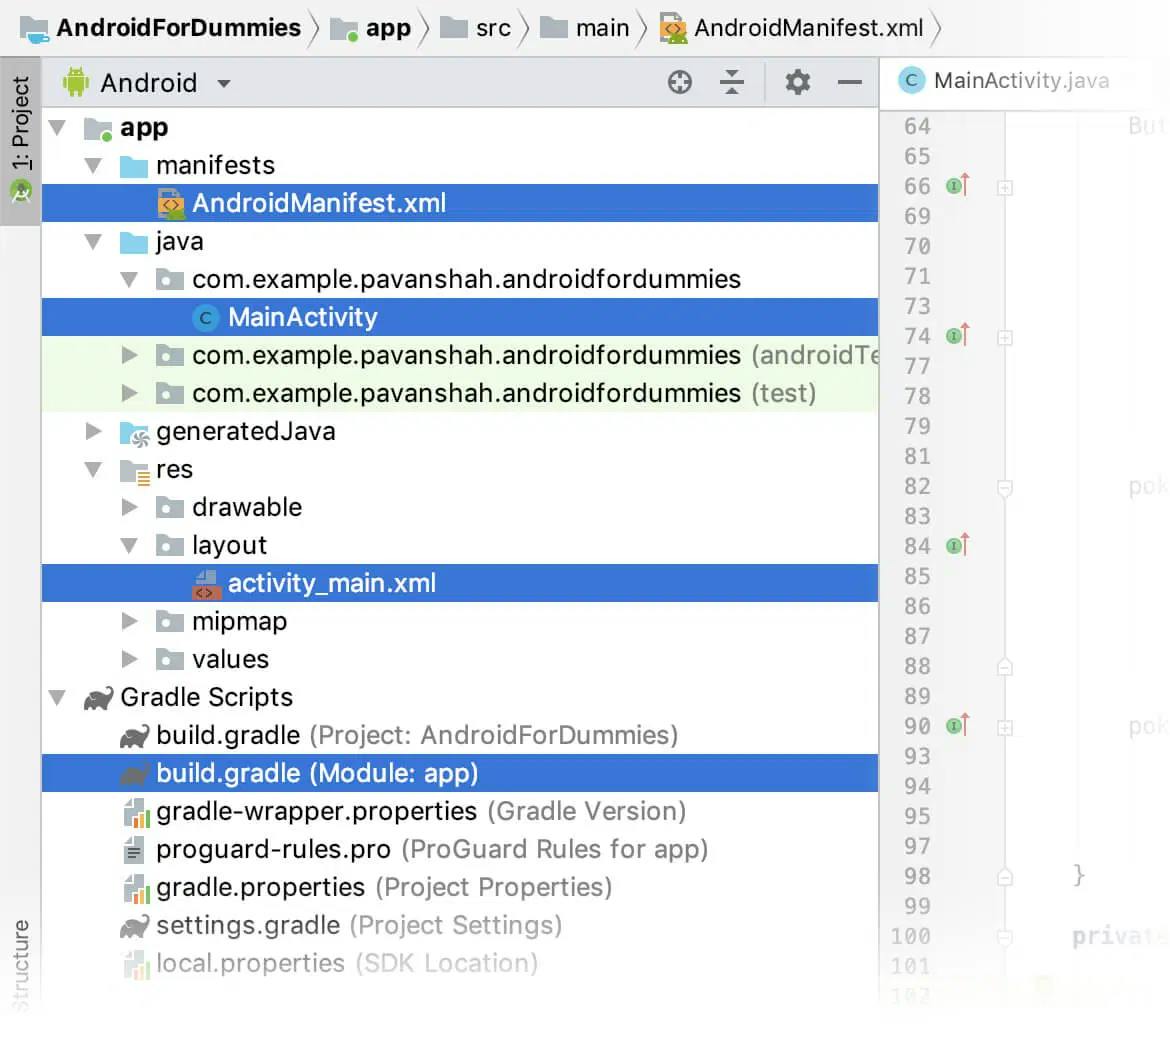
Following is the use of each of these files in layman’s terms -
activity_main.xml
This file defines how the UI will look. You have an option to drag-and-drop UI components like buttons, images etc.MainActivity.java
This file defines the functionality and logic for the UI. Ex - Action to be taken on button click.Manifest.xml
This file defines project and app level configurations. Things like permission requests from app user, app icon and many more are defined here.build.gradle(Module: app)
This file is mainly used for importing 3rd party libraries so they can be used in our app.
Let’s start with the UI. Open activity_main.xml in design mode
Play around with all the UI elements. At the end, our UI should look something similar to this:
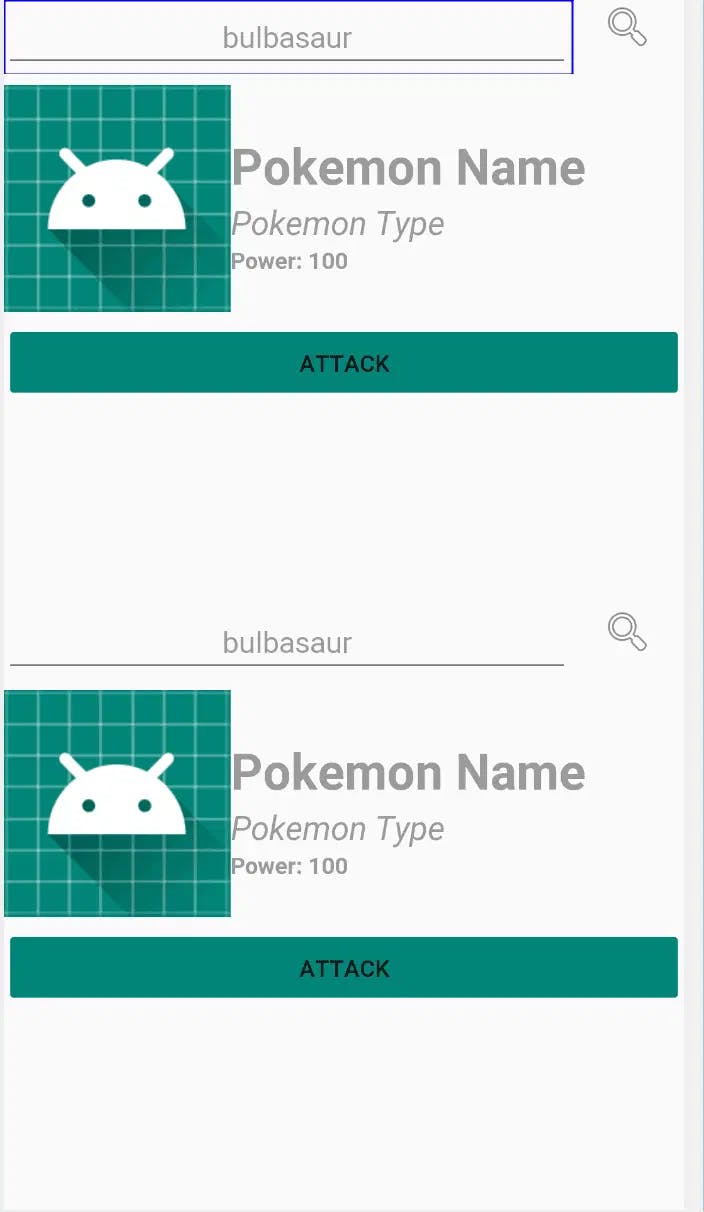
There is an ID associated with each of these UI components, as shown below.
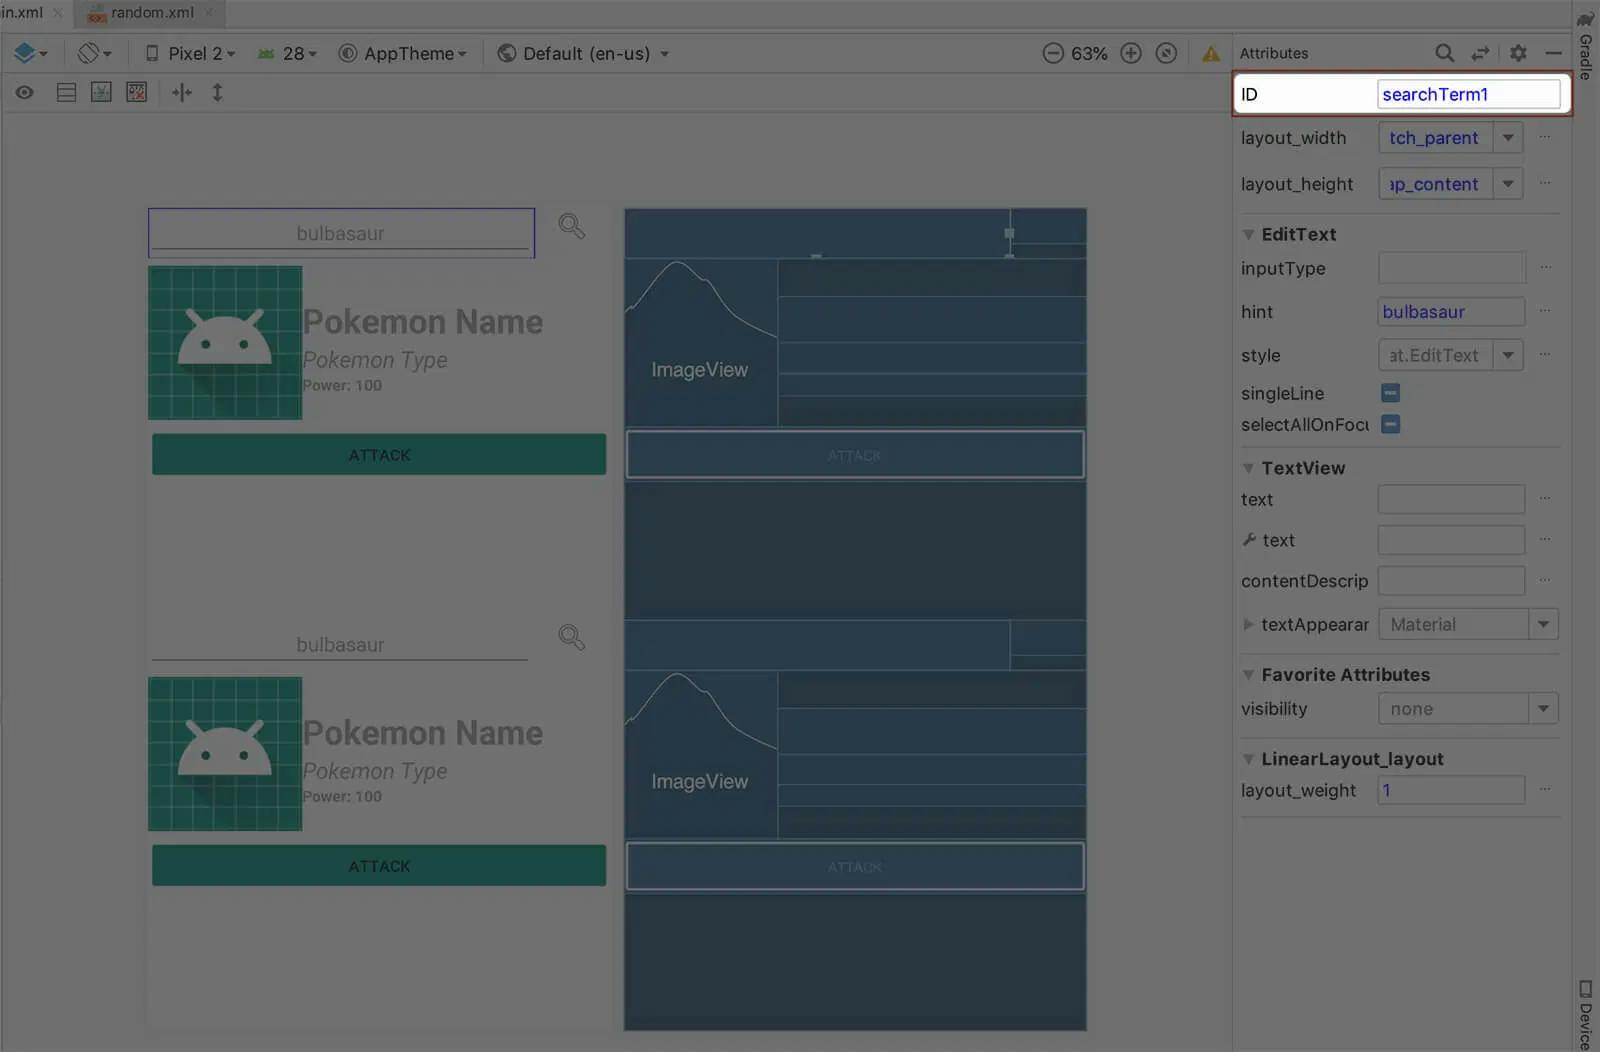
For this project we will be using the following IDs: searchTerm1, pokemonImage1, pokemonName1, pokemonType1, pokemonPower1, pokemonAttack1, searchTerm2, pokemonImage2, pokemonName2, pokemonType2, pokemonPower2, and pokemonAttack2.
Later we will be using these IDs in the MainActivity.java to define the logic for each of these components.
For this app we will need some 3rd party libraries. Open build.gradle(Module: app) and add the following code in the dependencies block and run 'Sync Now ’:
// Volley library for sending HTTP requests to an API
compile 'com.android.volley:volley:1.1.0'
// Picasso library to fetch images over internet
compile group: 'com.squareup.picasso', name: 'picasso', version: '2.71828'
Let’s begin with setting up the logic now. OpenMainActivity.javaand define references for our UI components in onCreate method.
TextView pokemonName1;
ImageView pokemonImage1;
TextView pokemonType1;
TextView pokemonPower1;

TextView pokemonName2;
ImageView pokemonImage2;
TextView pokemonType2;
TextView pokemonPower2;

@Override
protected void onCreate(Bundle savedInstanceState) {
  ImageButton searchButton1 = (ImageButton) findViewById(R.id.searchButton1);
  final EditText searchTerm1 = (EditText) findViewById(R.id.searchTerm1);
  pokemonName1 = (TextView) findViewById(R.id.pokemonName1);
  pokemonImage1 = (ImageView) findViewById(R.id.pokemonImage1);
  pokemonType1 = (TextView) findViewById(R.id.pokemonType1);
  pokemonPower1 = (TextView) findViewById(R.id.pokemonPower1);
  Button pokemonAttack1 = (Button) findViewById(R.id.pokemonAttack1);

  ImageButton searchButton2 = (ImageButton) findViewById(R.id.searchButton2);
  final EditText searchTerm2 = (EditText) findViewById(R.id.searchTerm2);
  pokemonName2 = (TextView) findViewById(R.id.pokemonName2);
  pokemonImage2 = (ImageView) findViewById(R.id.pokemonImage2);
  pokemonType2 = (TextView) findViewById(R.id.pokemonType2);
  pokemonPower2 = (TextView) findViewById(R.id.pokemonPower2);
  Button pokemonAttack2 = (Button) findViewById(R.id.pokemonAttack2);
}
Now our java code understands what are we referring to from the UI.
To make our app more dynamic, we will be fetching the following information for our Pokémons from a 3rd party API. We will be using Volley library for sending a GET request to this API and fetching the data.
Add this code at appropriate places:
RequestQueue queue;
String baseURL = "https://pokeapi.co/api/v2/pokemon/";
@Override
protected void onCreate(Bundle savedInstanceState) {
queue = Volley.newRequestQueue(getApplicationContext());
}
To fetch data for a particular Pokémon (For example, Pikachu), we need to send a GET request to the API with the name of the Pokémon appended to it:https://pokeapi.co/api/v2/pokemon/pikachu.
Let’s define two functionsfetchDataForPokemon1andfetchDataForPokemon2. These functions will hit the API using Volley’s syntax to fetch the required data and assign it to the corresponding UI components.
private void fetchDataForPokemon1(String pokemon) {
  JsonObjectRequest stringRequest = new JsonObjectRequest(Request.Method.GET, baseURL + pokemon, null,
    new Response.Listener<JSONObject>() {
      @Override
      public void onResponse(JSONObject response) {
        try {
          pokemonName1.setText(response.getString("name"));
          // Picasso library to download an image from a URL and assign it to a UI component
          Picasso.get().load(response.getJSONObject("sprites").getString("front_default")).into(pokemonImage1);
          pokemonType1.setText(response.getJSONArray("types").getJSONObject(0).getJSONObject("type").getString("name") + " type");
          pokemonPower1.setText(response.getString("base_experience"));
        } catch (JSONException e) {
          e.printStackTrace();
        }
      }
    }, new Response.ErrorListener() {
      @Override
      public void onErrorResponse(VolleyError error) {
        pokemonName1.setText("No such pokemon exists");
      }
    });

    // Add the request to the RequestQueue.
    queue.add(stringRequest);
}
Similarly, define fetchDataForPokemon2 for all the UI components corresponding to Pokemon2. We will be calling for these functions when the user enters a search text and hits search button.
Let’s define onClick listeners for our search buttons in onCreate method.
searchButton1.setOnClickListener(new View.OnClickListener() {
  @Override
    public void onClick(View v) {
      String pokemon = searchTerm1.getText().toString();
      fetchDataForPokemon1(pokemon);
    }
});
Note, we are fetching the search text of the user and sending it to the function. Similarly define onClick listener for searchButton2 and call fetchDataForPokemon2.
Our Pokémons will now be able to attack each other. We are fetching the power of our Pokémons from the API. Whenever a Pokémon attacks, we will be reducing power of the opponent by 2.
We will now define onClick functions for our attack buttons in the onCreate method.
pokemonAttack1.setOnClickListener(new View.OnClickListener() {
  @Override
    public void onClick(View v) {
      int newPower = Integer.parseInt(pokemonPower2.getText().toString())-2;
      pokemonPower2.setText(newPower+"");
    }
});
Similarly, define an onClick listener for pokemonAttack2.
Our app is now ready! There are many opportunities for customization here.
Some ideas:
Create a game-over pop-up to display when one of the Pokémons runs out of power.
Make it multi-device. You can remove all the duplication of code and UI by introducing a communication or database layer. You can explore various options like BluetoothSockets or Firebase database.
Use PokeAPI to fetch different types of attacks your Pokémon can perform. This will allow the user to choose a type of attack. Assign different weightage to the varying attack types.
Particular types of Pokémons are more/less effective against a particular type. Define a map for this. Compare the type of Pokémons received from the API and assign a weightage accordingly.
Now you have your very own Pokémon battle app. Enjoy battling with your friends!